IT - VPS migration
Old instance inventory
Instance creation in AWS
- Go to AWS management console (e-connect root account)
- Open EC2 service pane / instances
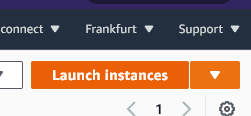
- Click on Launch instances

- Select My AMIs and choose the latest "web production" image available

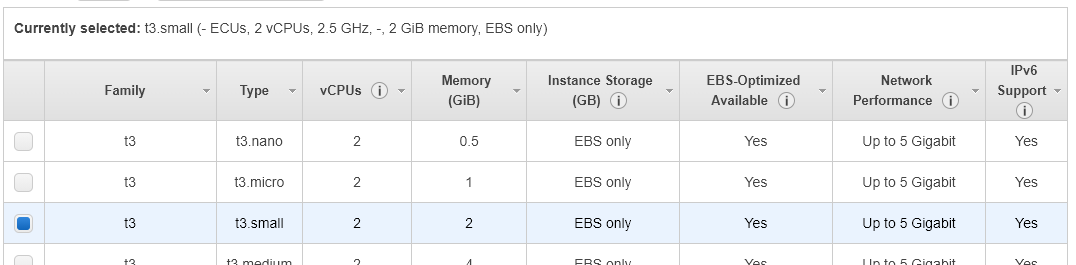
- Select an instance type (see the related Paymo story for specs)

- Configure instance details (see the related Paymo story for specs)
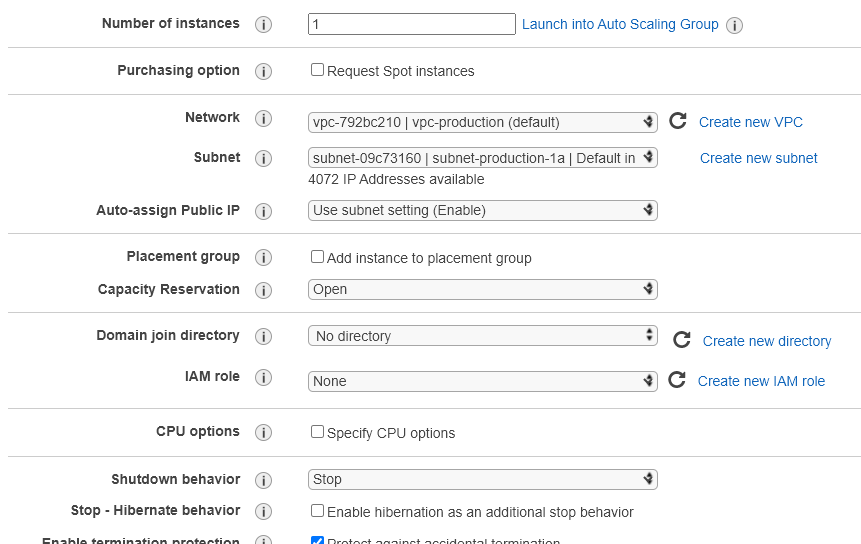
- Add storage, volumes should be encrypted with default aws/ebs key

- Add "Name" tag (see the related Paymo story for the instance name)

- Configure security group, assign "E-connect accesses" for a classic web instance

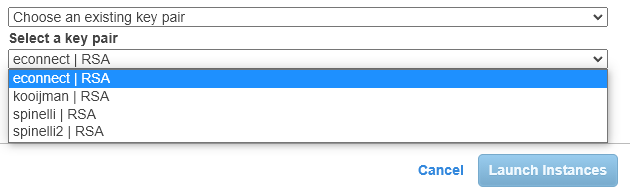
- Click on review and launch, then select a key pair. Of course, you must select a key that you own !


Instance setup (OS)
- Log into the instance using SSH
- Update/upgrade APT packages
sudo apt update
sudo apt upgrade
sudo reboot now
# once rebooted
sudo apt autoremove - Change Hostname permanently
sudo hostnamectl set-hostname ec2-*servername* sudo reboot now - Edit hosts file and add servername to the localhost entries
- Run ansible playbooks
Instance setup (ISPconfig)
- Log into ISPconfig console https://serverip:8080 using the admin credentials
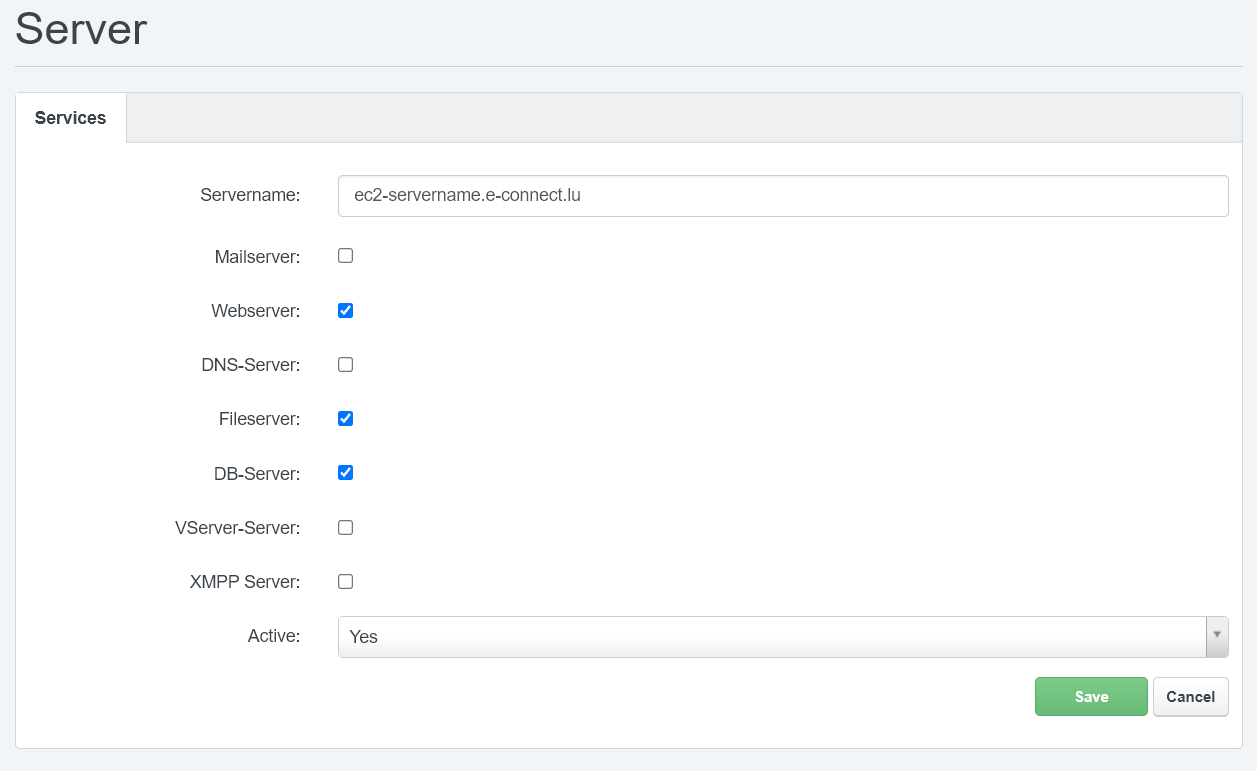
- Go to System > Server services and configure options like the following (set the servername accordingly)

- Go to Sites > Website and add your website(s)


Pas de commentaires